Okta Integration
How to Integrate Kondukto to Okta
- Enter the Okta Admin panel.
- Click Applications ➡️ Applications from the left menu.
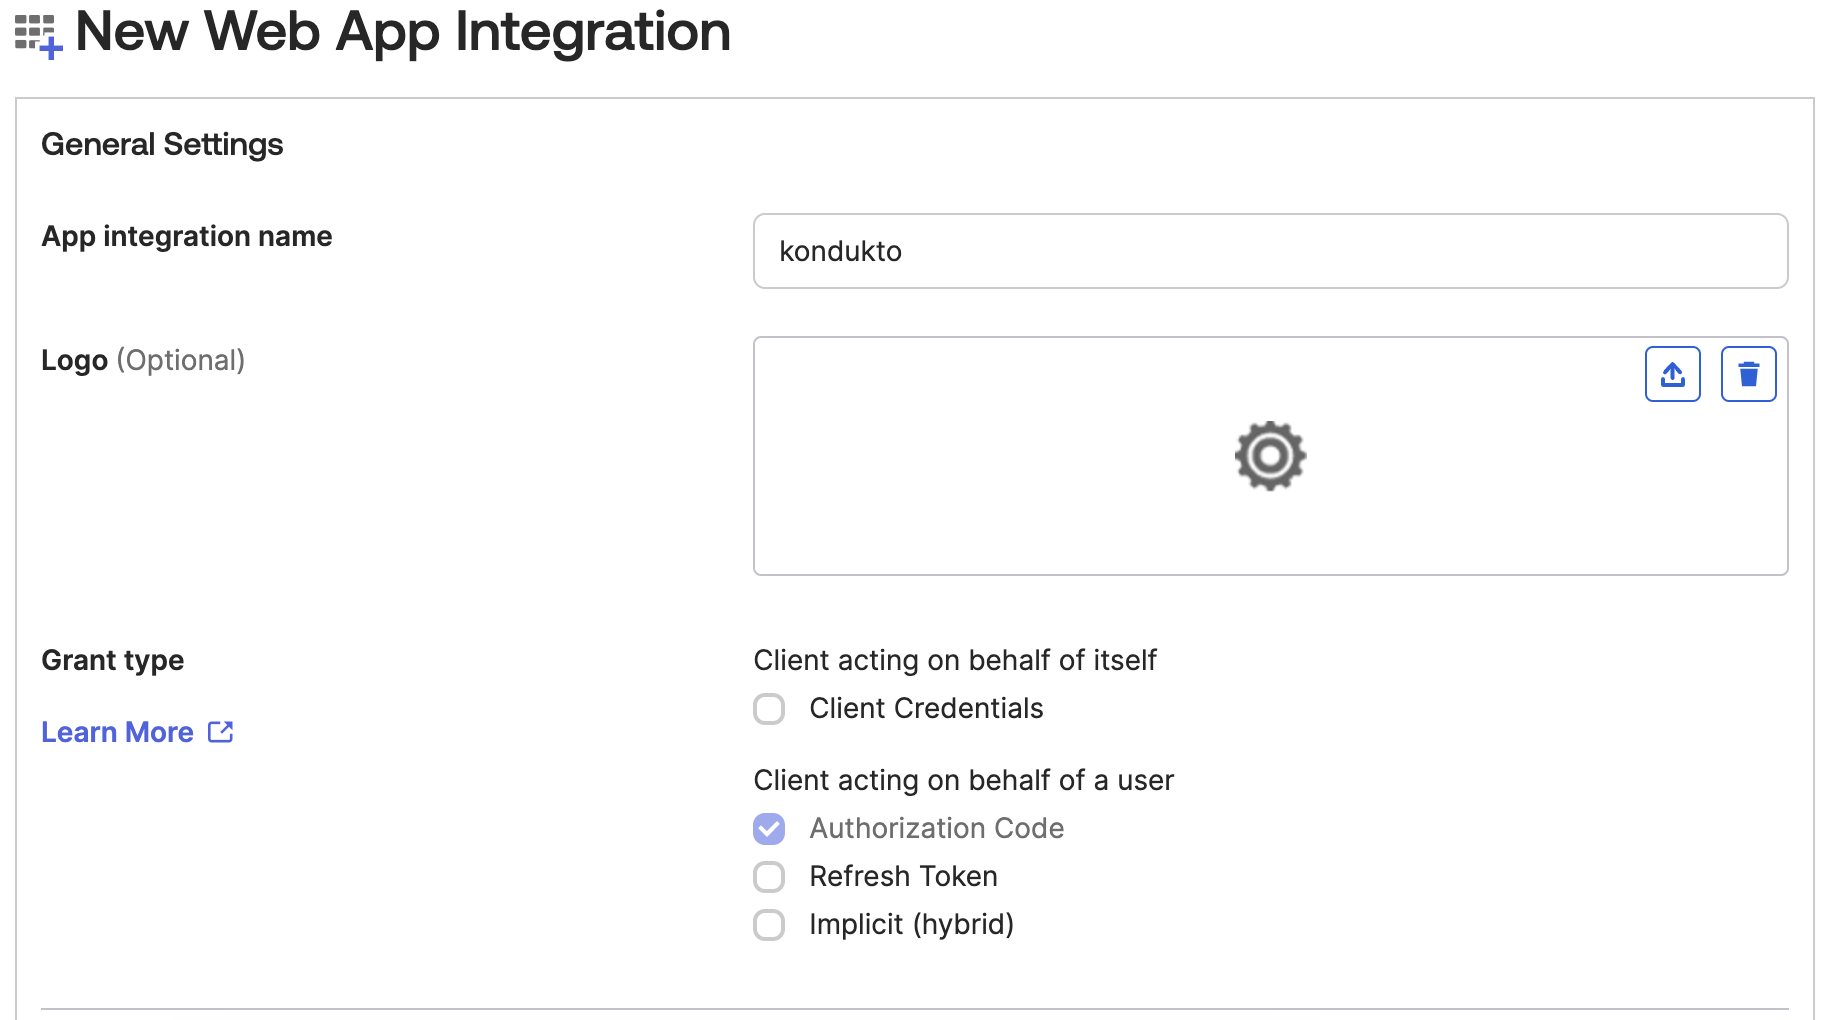
- Click Create App Integration.
- Check OIDC - OpenID Connect as the Sign-in method.
- Check Web Application as the Application type. Then click the Next button.
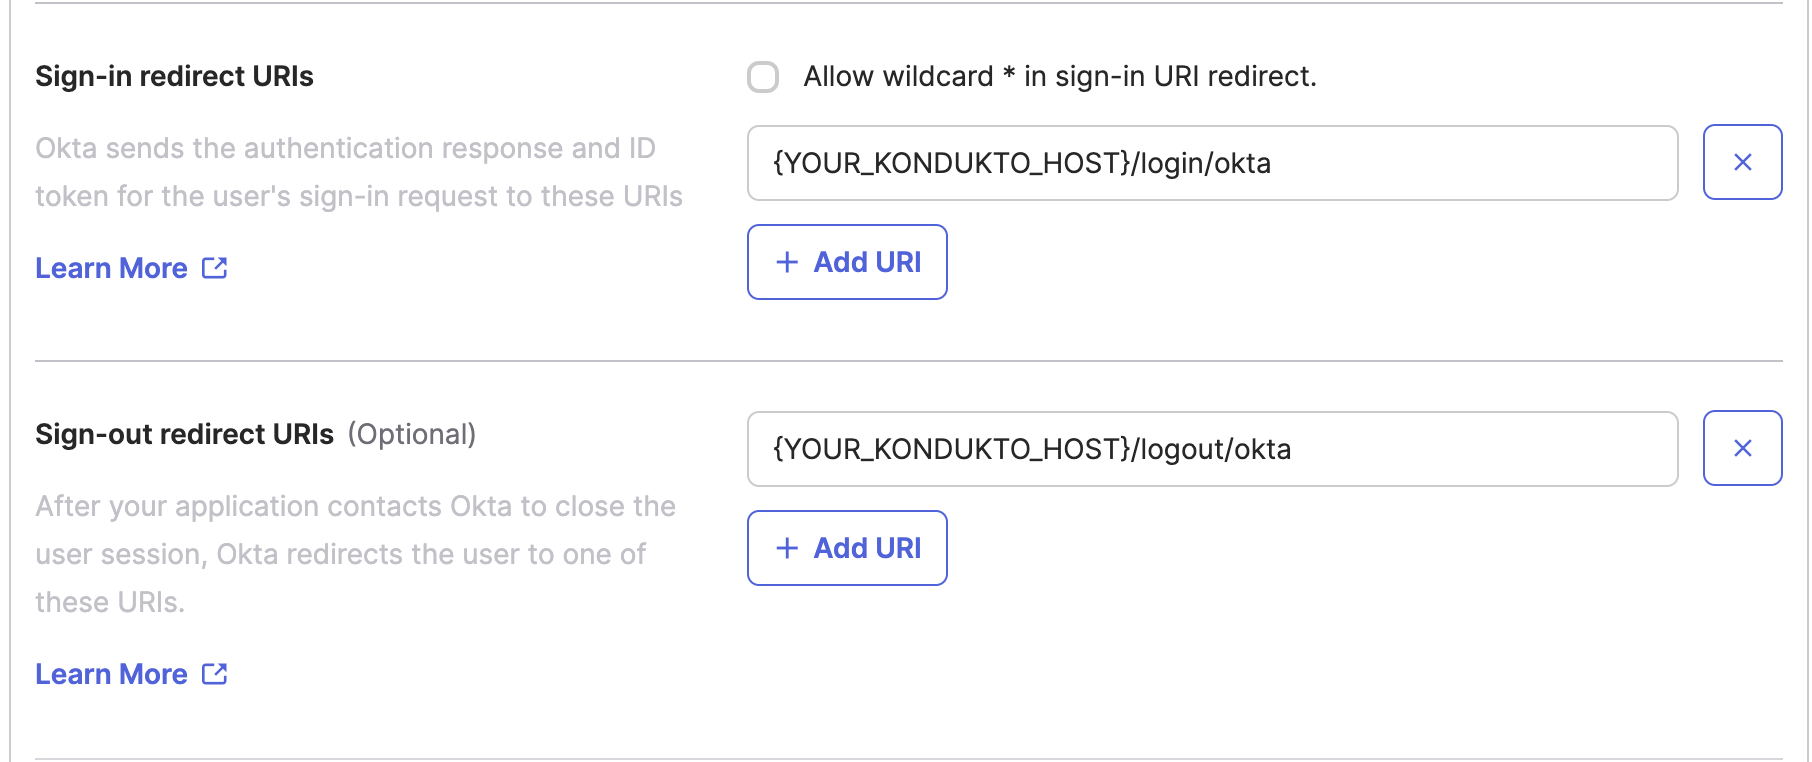
- Type “{YOUR_KONDUKTO_HOST}/login/okta” to the Sign-in redirect URIs
- Type “{YOUR_KONDUKTO_HOST}/logout/okta” to the Sign-out redirect URIs
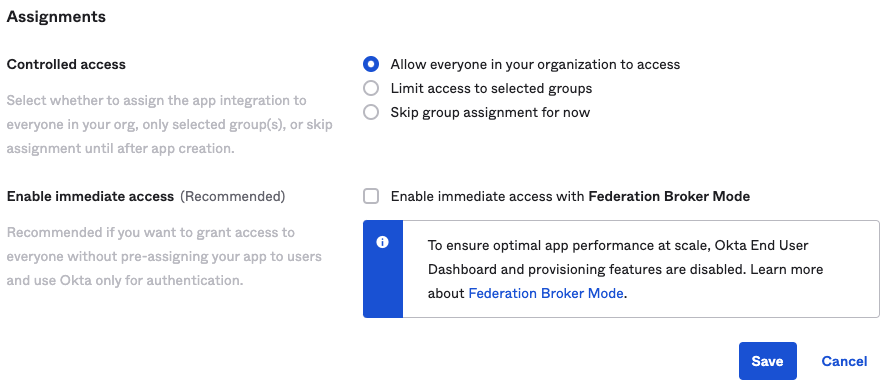
- Select “Allow everyone in your organization to access” as Controlled Access in the Assignments section.
- Uncheck “Enable immediate access with Federation Broker Mode” as shown below. Then click the Save button.
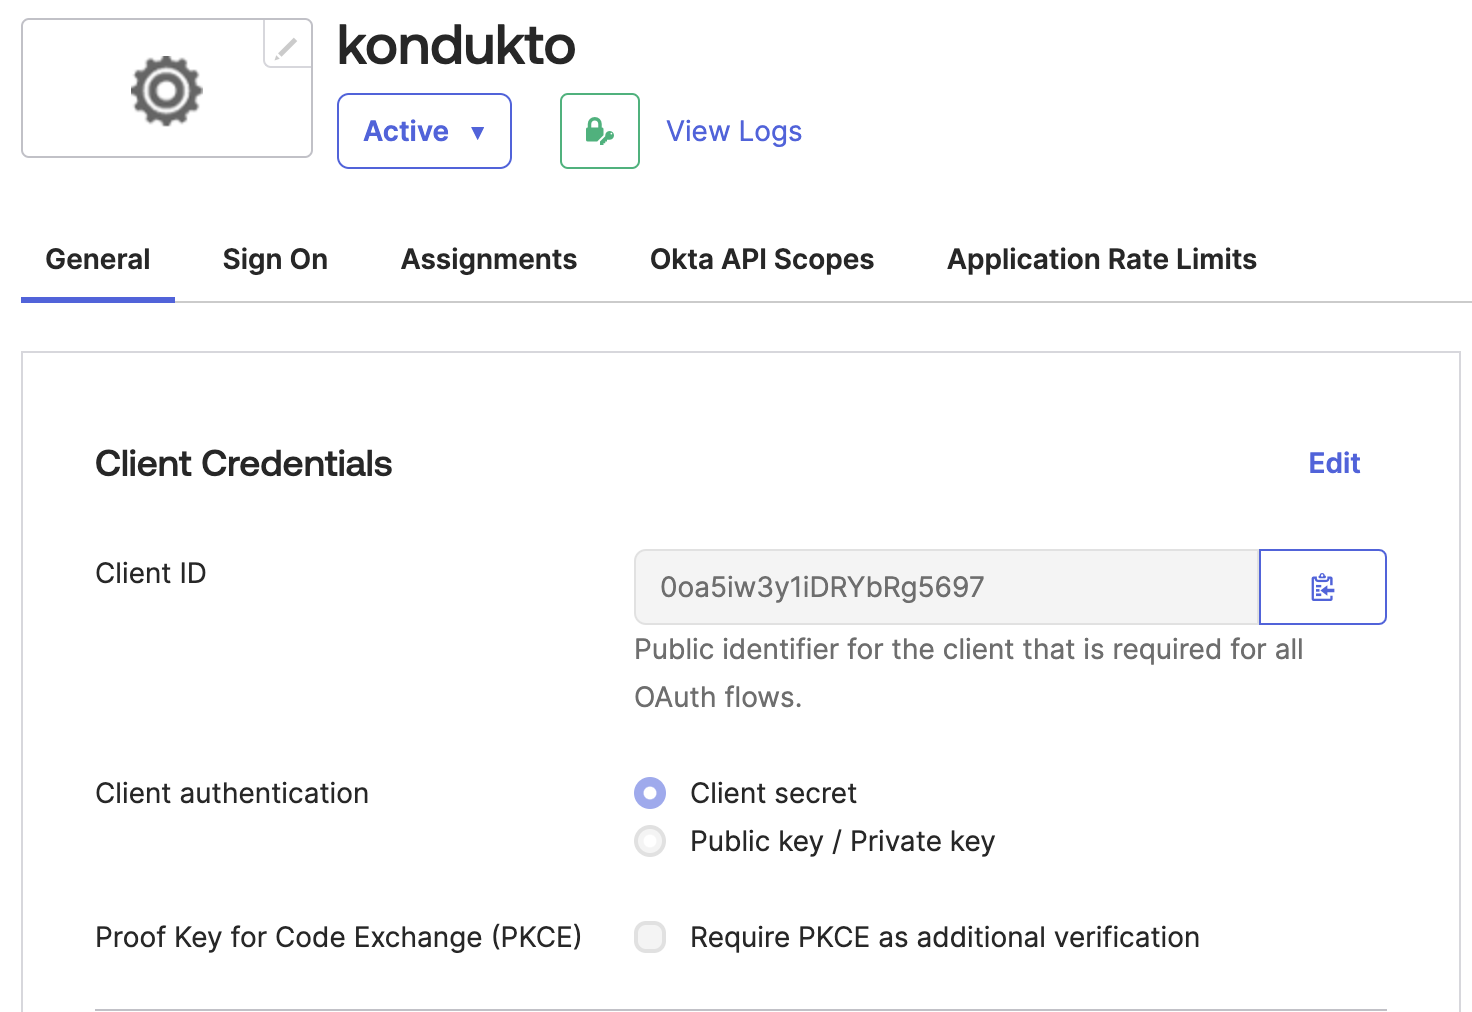
- Copy the “Client ID” value to a safe place.
- Click the “Generate new secret” button.
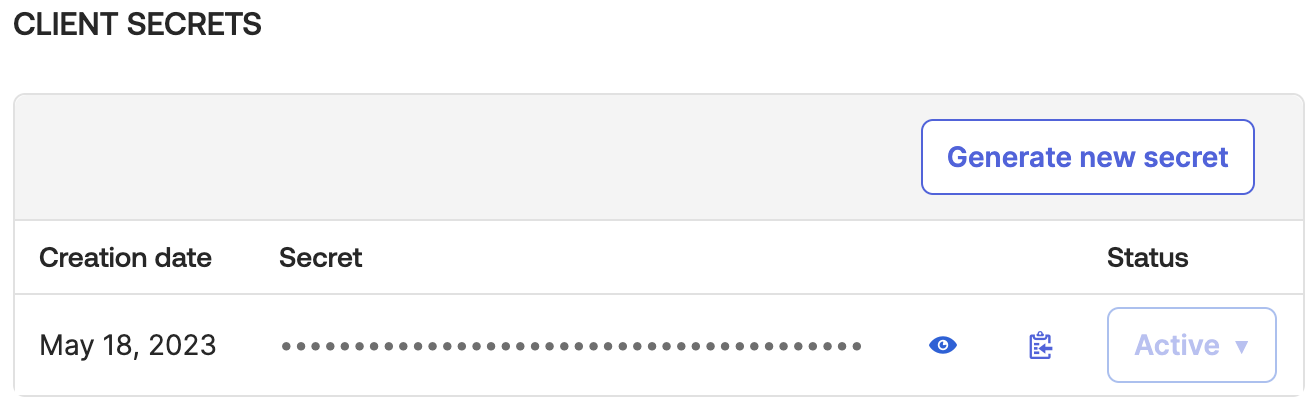
- Copy the “Client secret” value to a safe place.
- Go to the “Sign On” menu.
- Scroll down and click the “Edit” button in the “OpenID Connect ID Token” panel.
- Select “Matched regex” and type “.*” to the “Groups claim filter”
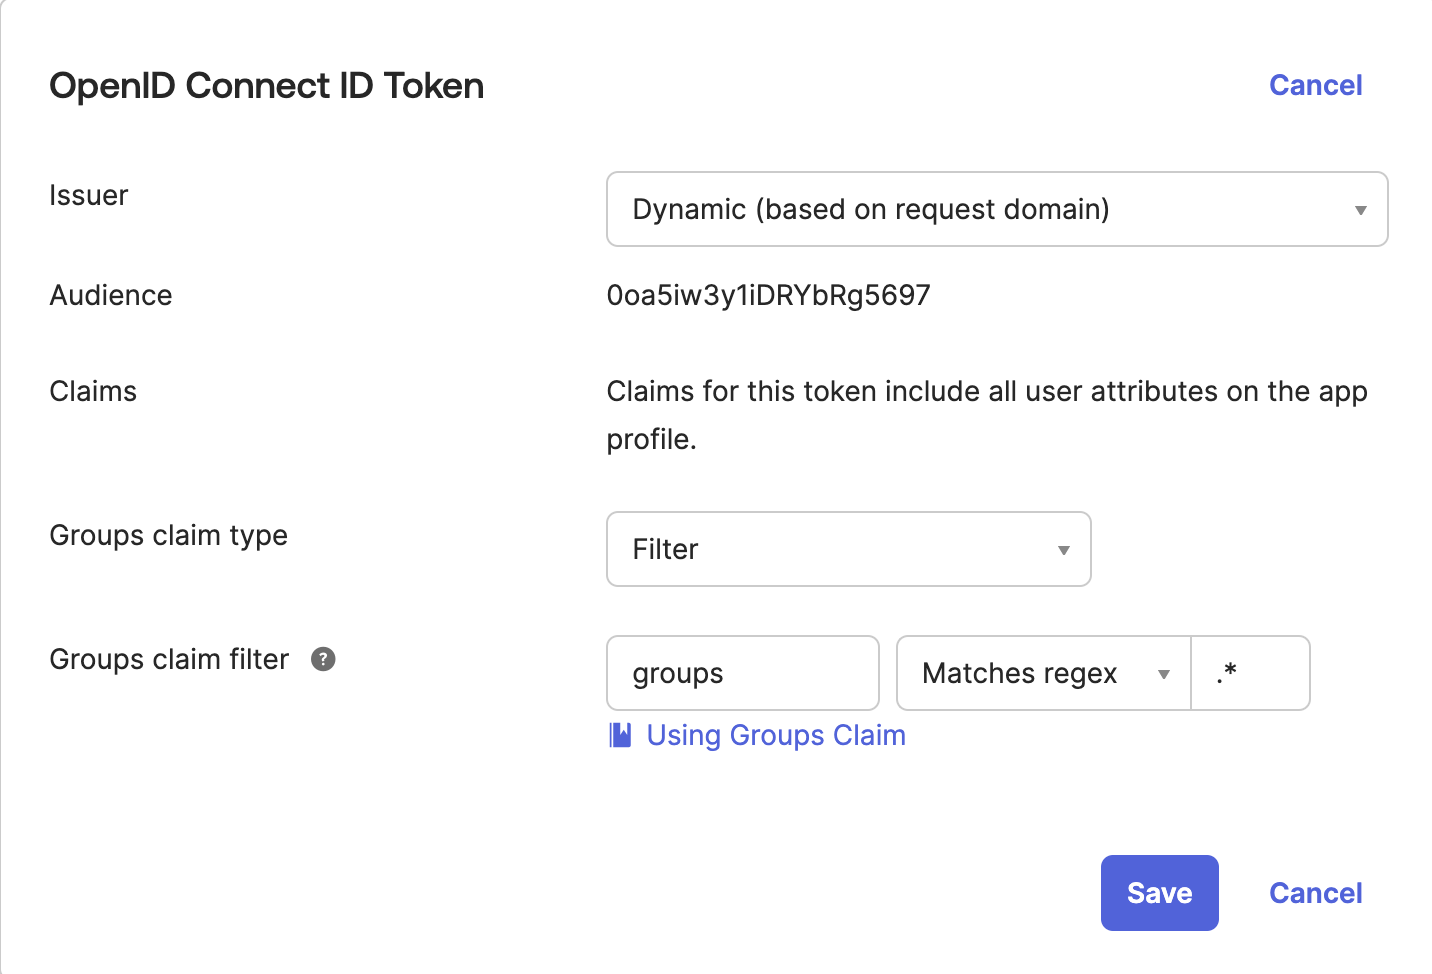
- Click the “Save” button.
- Select Directory ➡️ Groups from the left menu.
- Click to the “Add group” button and create the groups below.
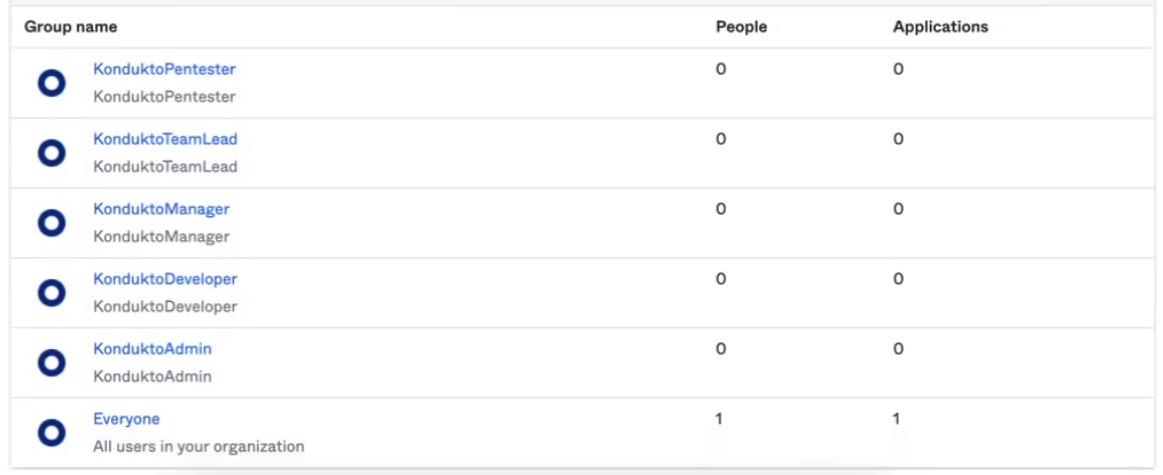
- Assign users to the groups.
- Select Applications from the left menu and select “kondukto” app integration.
- Go to the “Assignments” menu.
- Assign all created groups to the “kondukto” application.
- Click the “Done” button.
- Then going to the Kondukto side. You can complete Okta integration by entering Okta Trial URL, Client ID, Client Secret, and Issuer URL, and defining roles at the bottom. You can get the Issuer URL from the API screen.
How to generate a token in Okta
- In admin panel, select API under the Security dropdown tab.
- Move to Tokens tab and click Create Token button.
- Name the token as you wish and click Create Token button.
- Copy the Token Value to a safe place and click the green OK, got it button.