Google SSO with SAML 2.0
- Login to your “Google Admin Portal”.
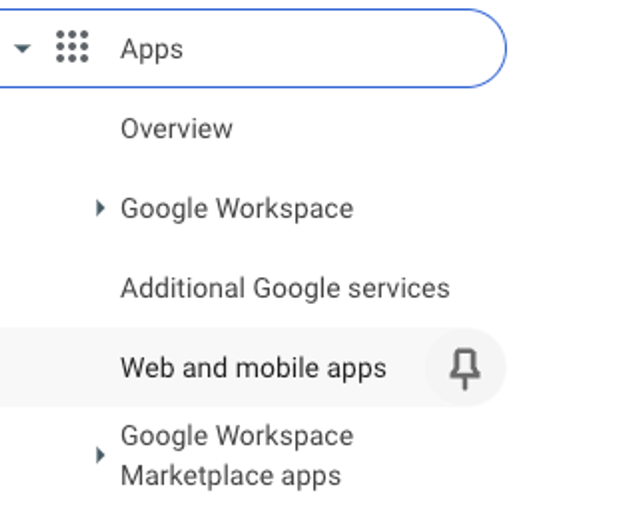
- Select “Apps ➡️ Web and mobile apps” from the left menu.
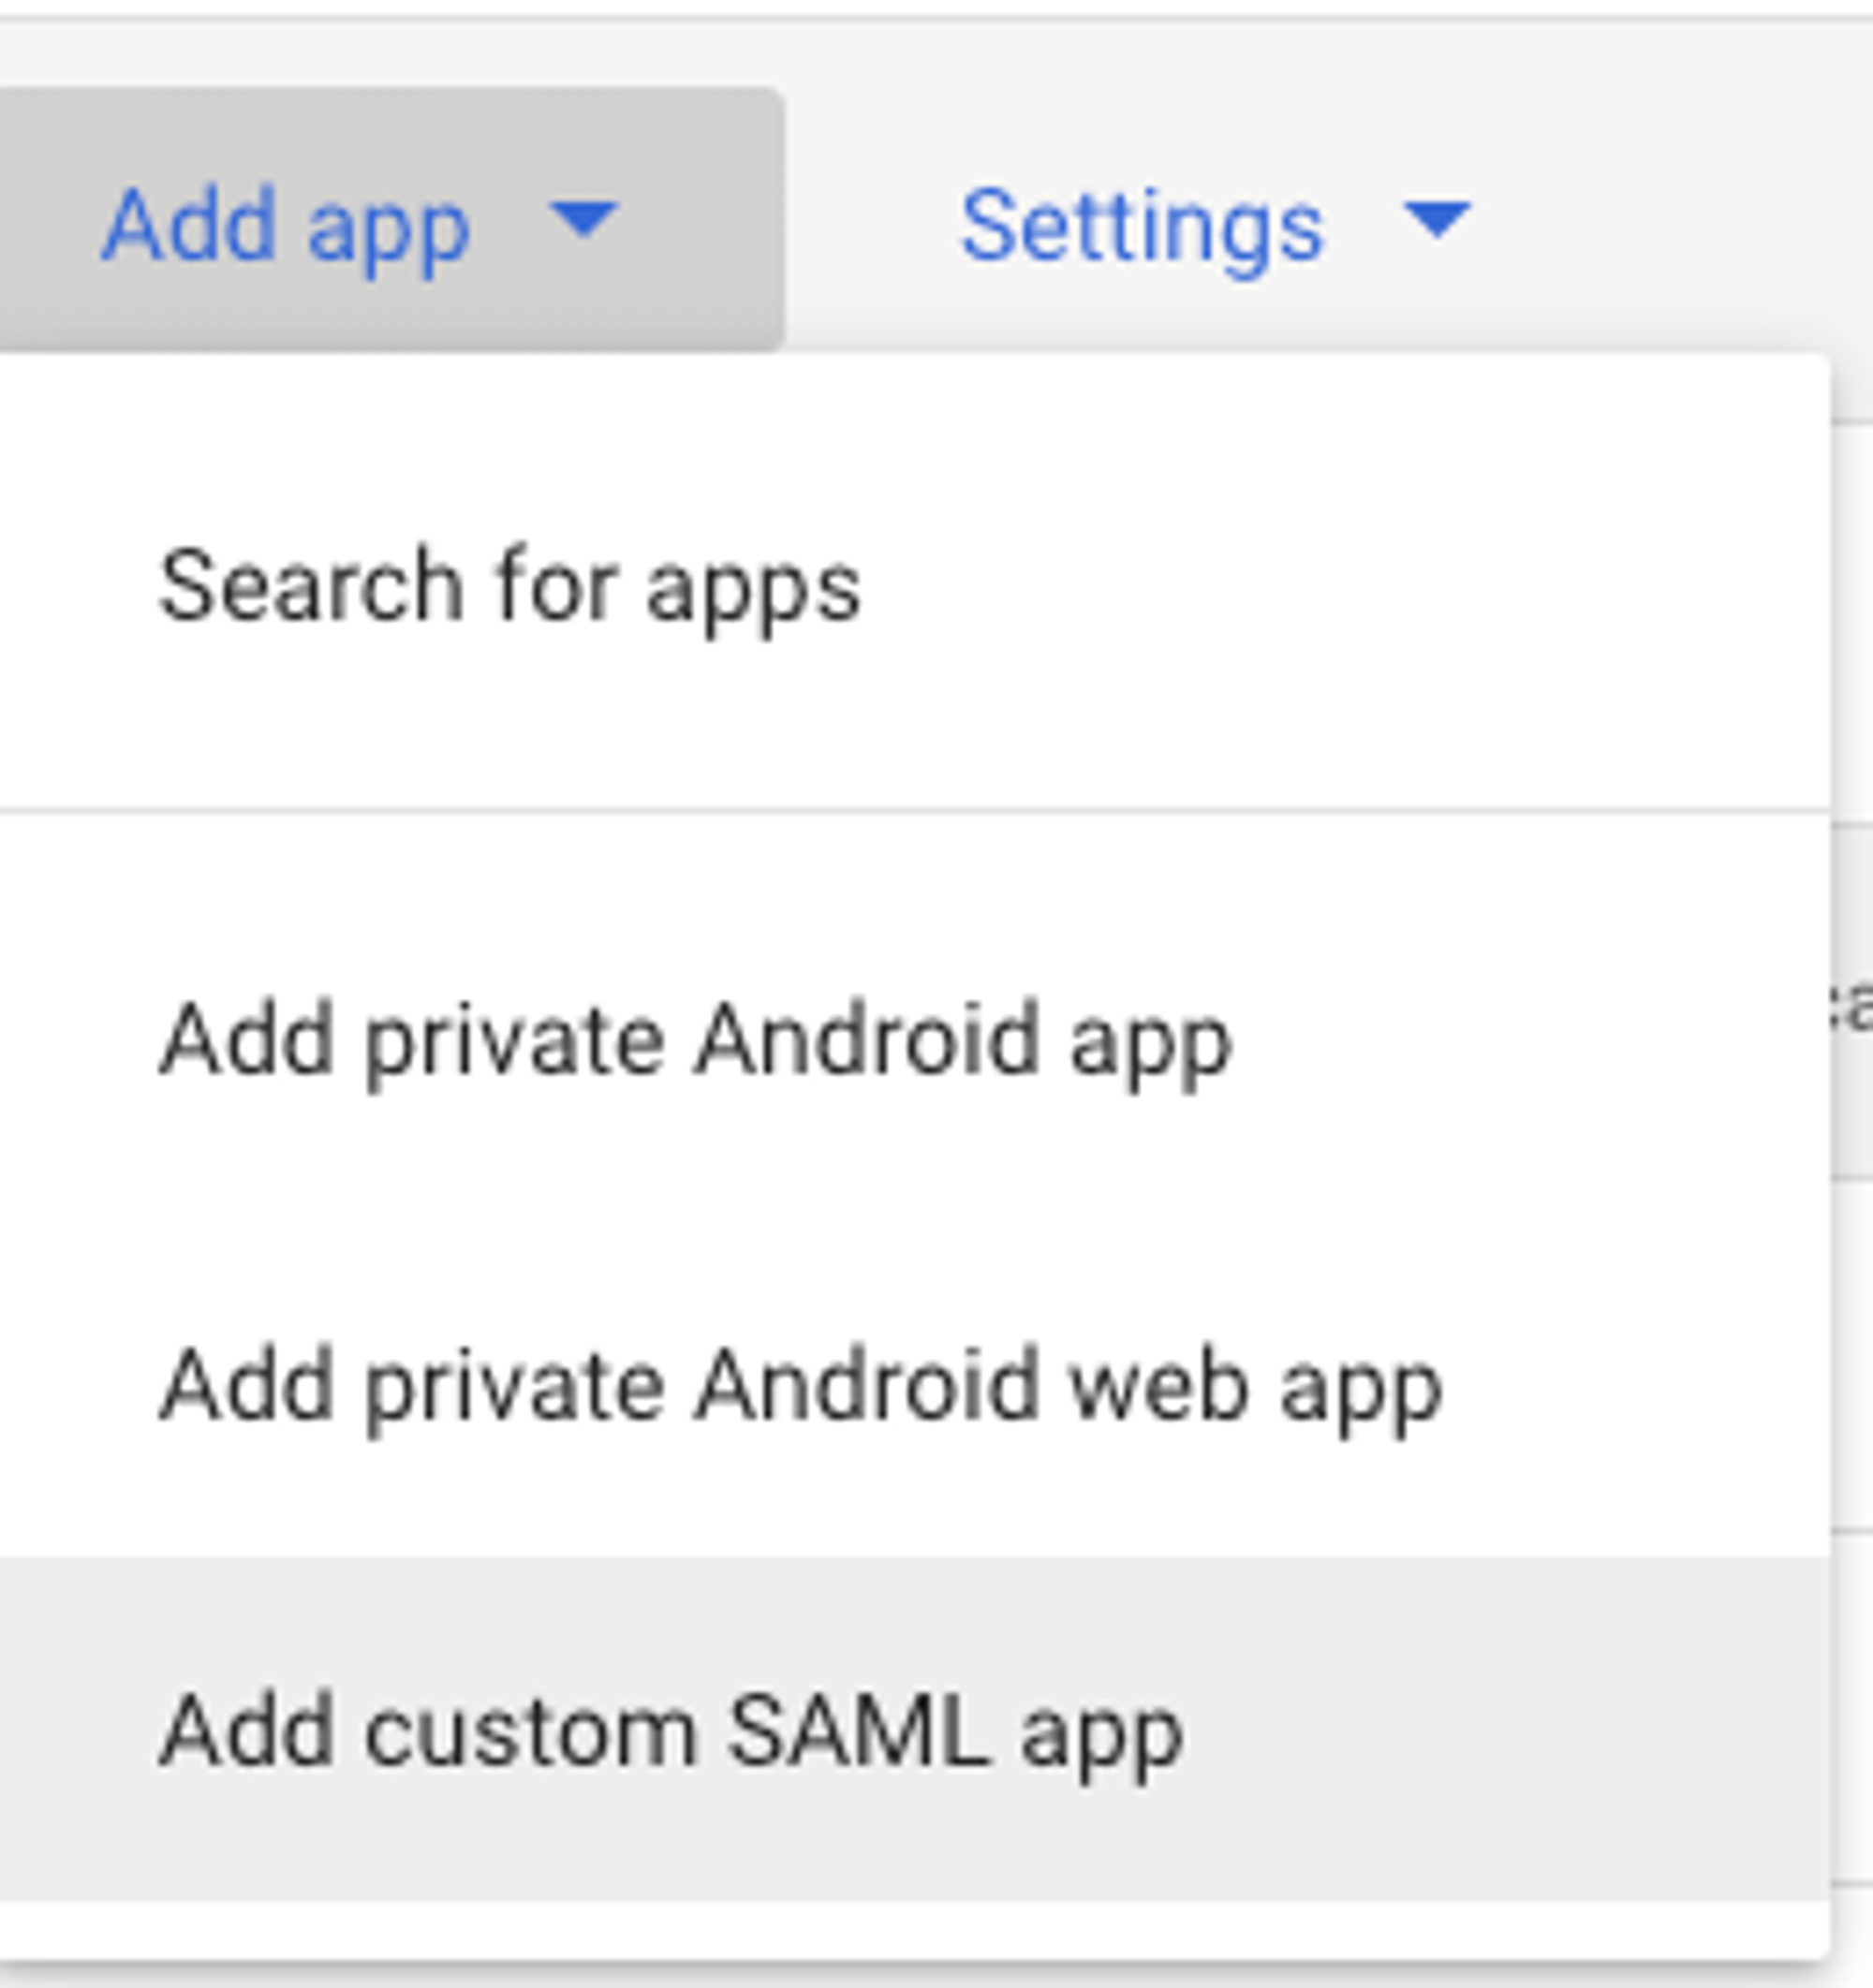
- Click the “Add app ➡️ Add custom SAML app” button on the web and mobile apps page.
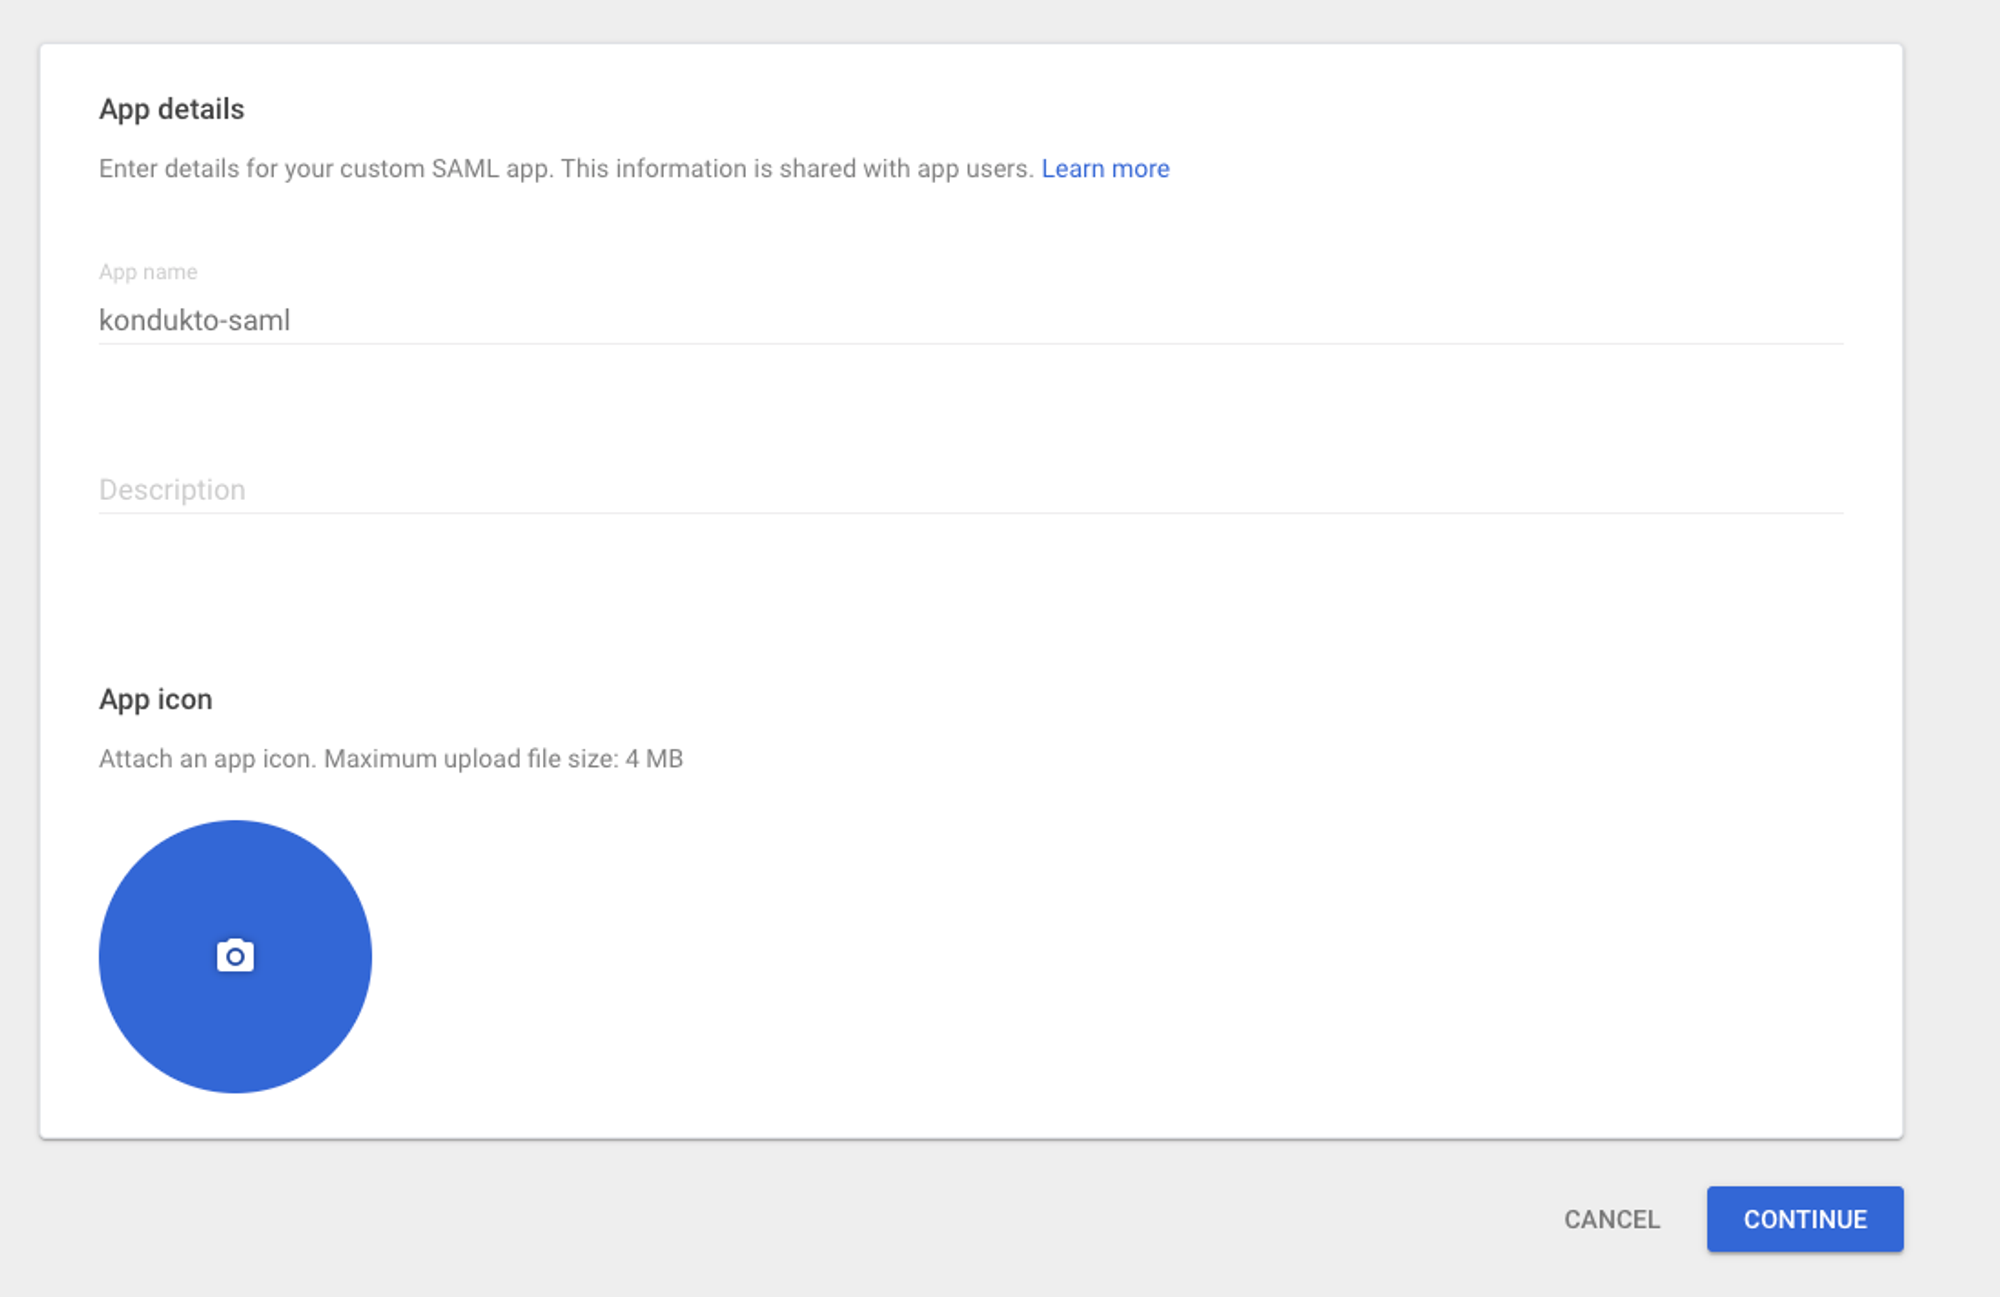
- Fill in the application name as “kondukto-saml” and click the “Continue” button.
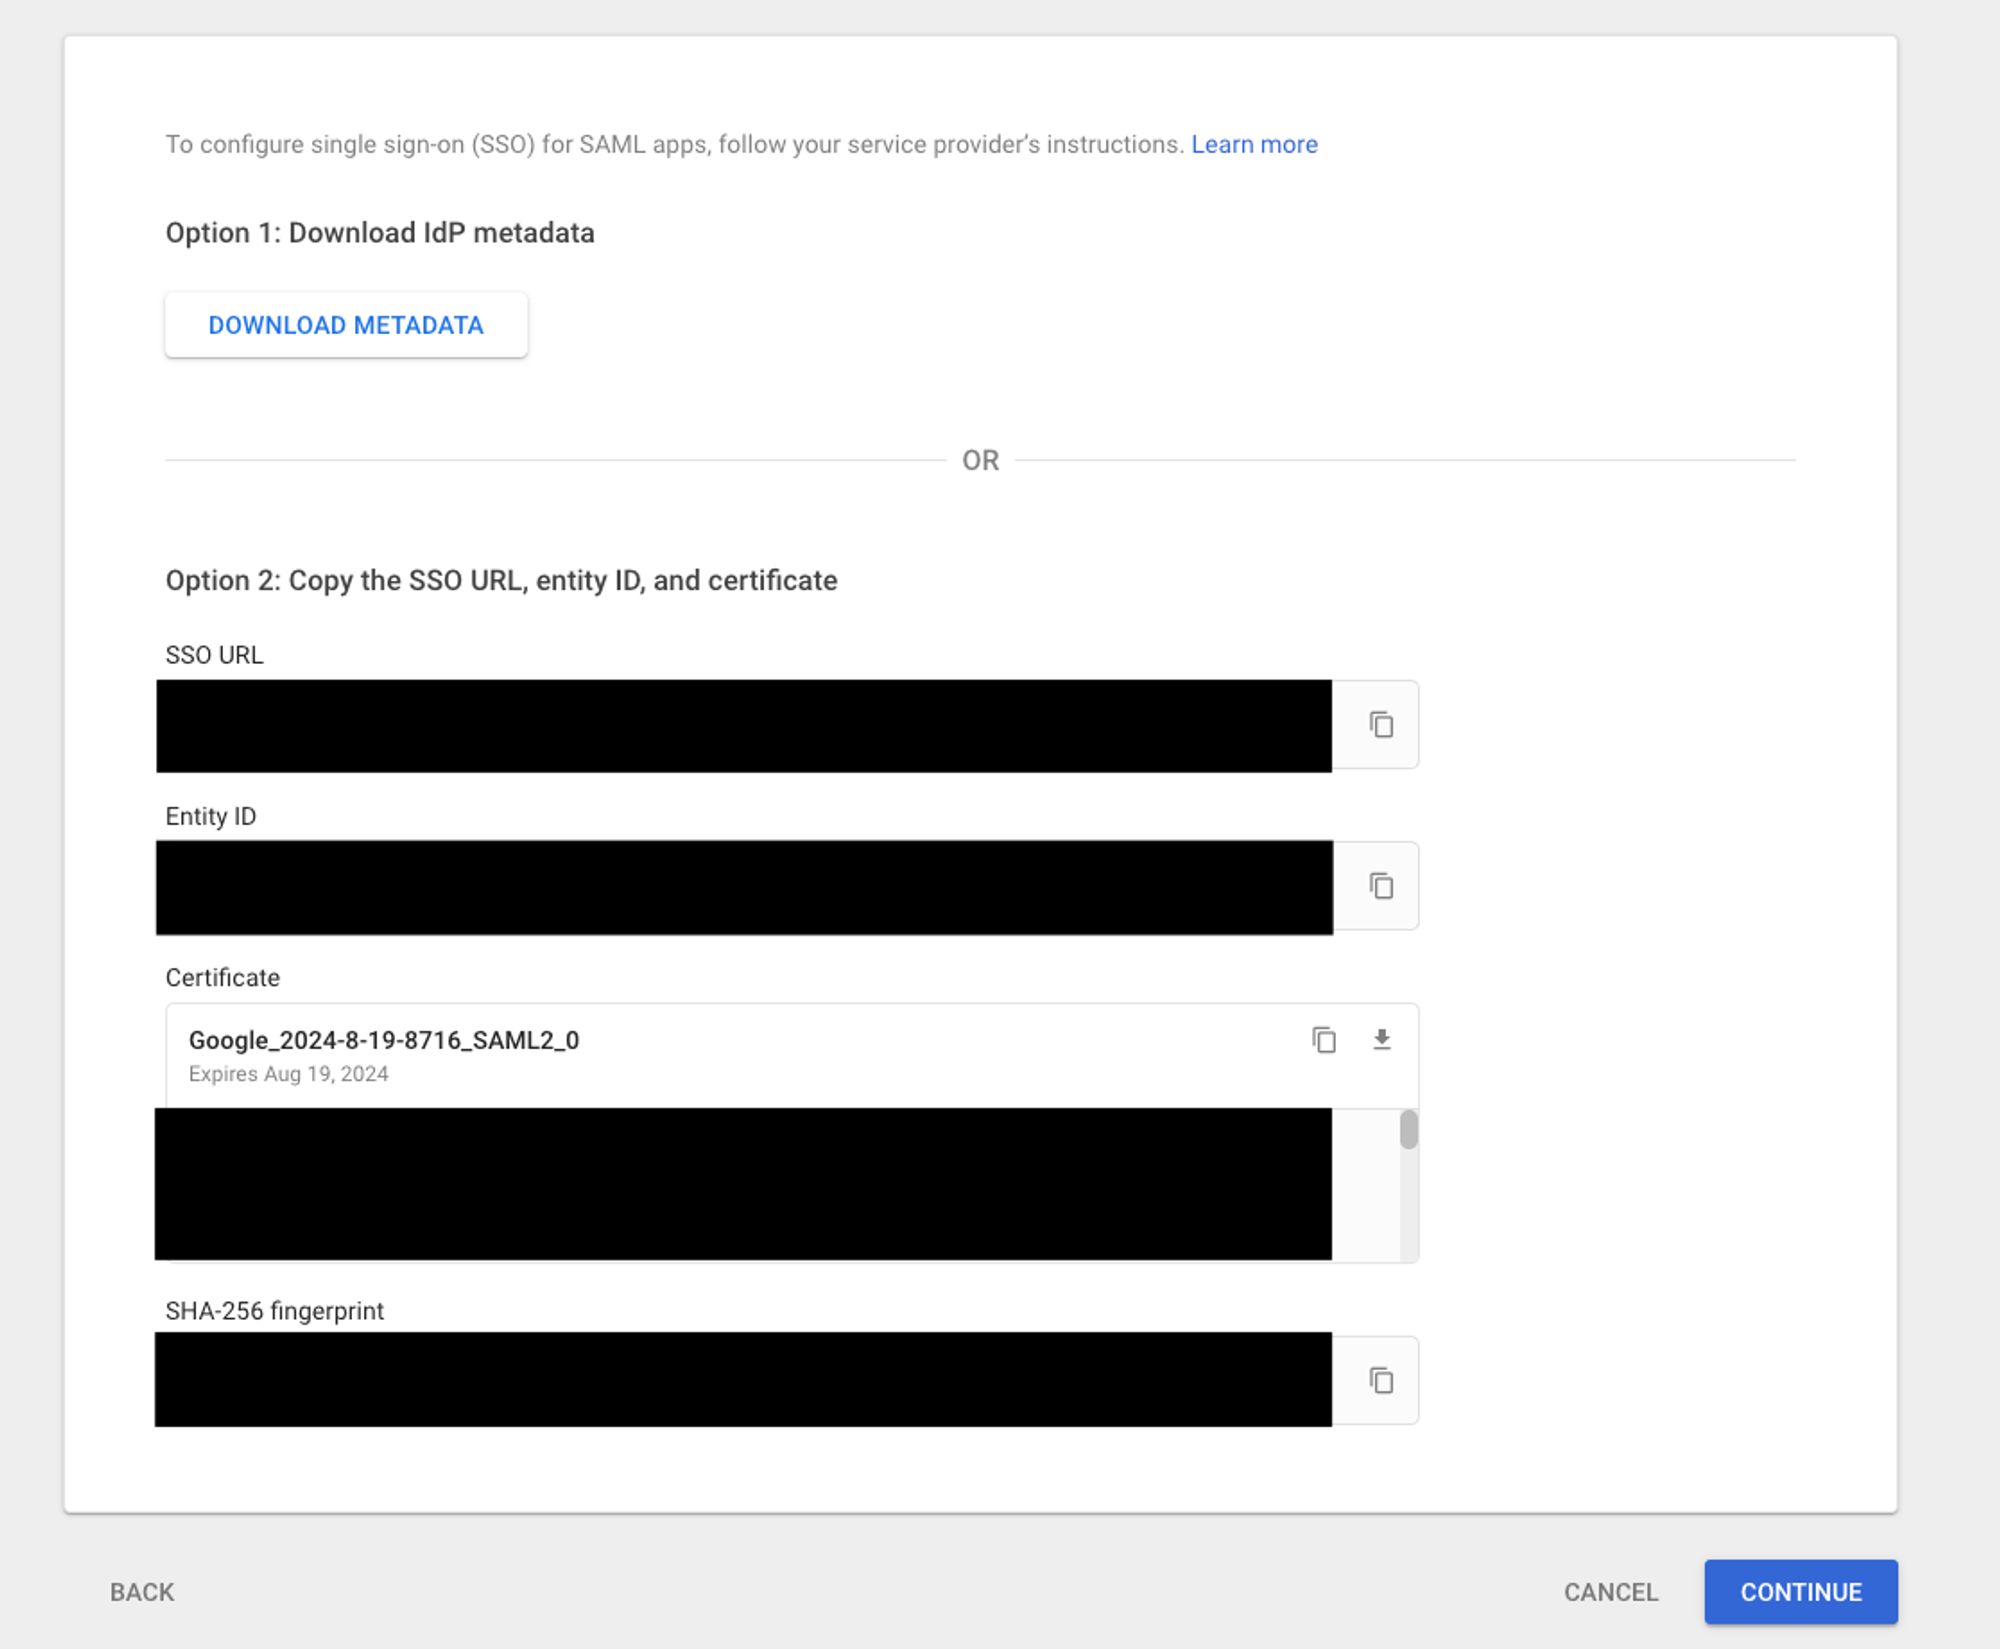
- Copy the “SSO URL” and “Entity ID” fields to the safe place and download the “Certificate” to the safe place and click the “Continue” button.
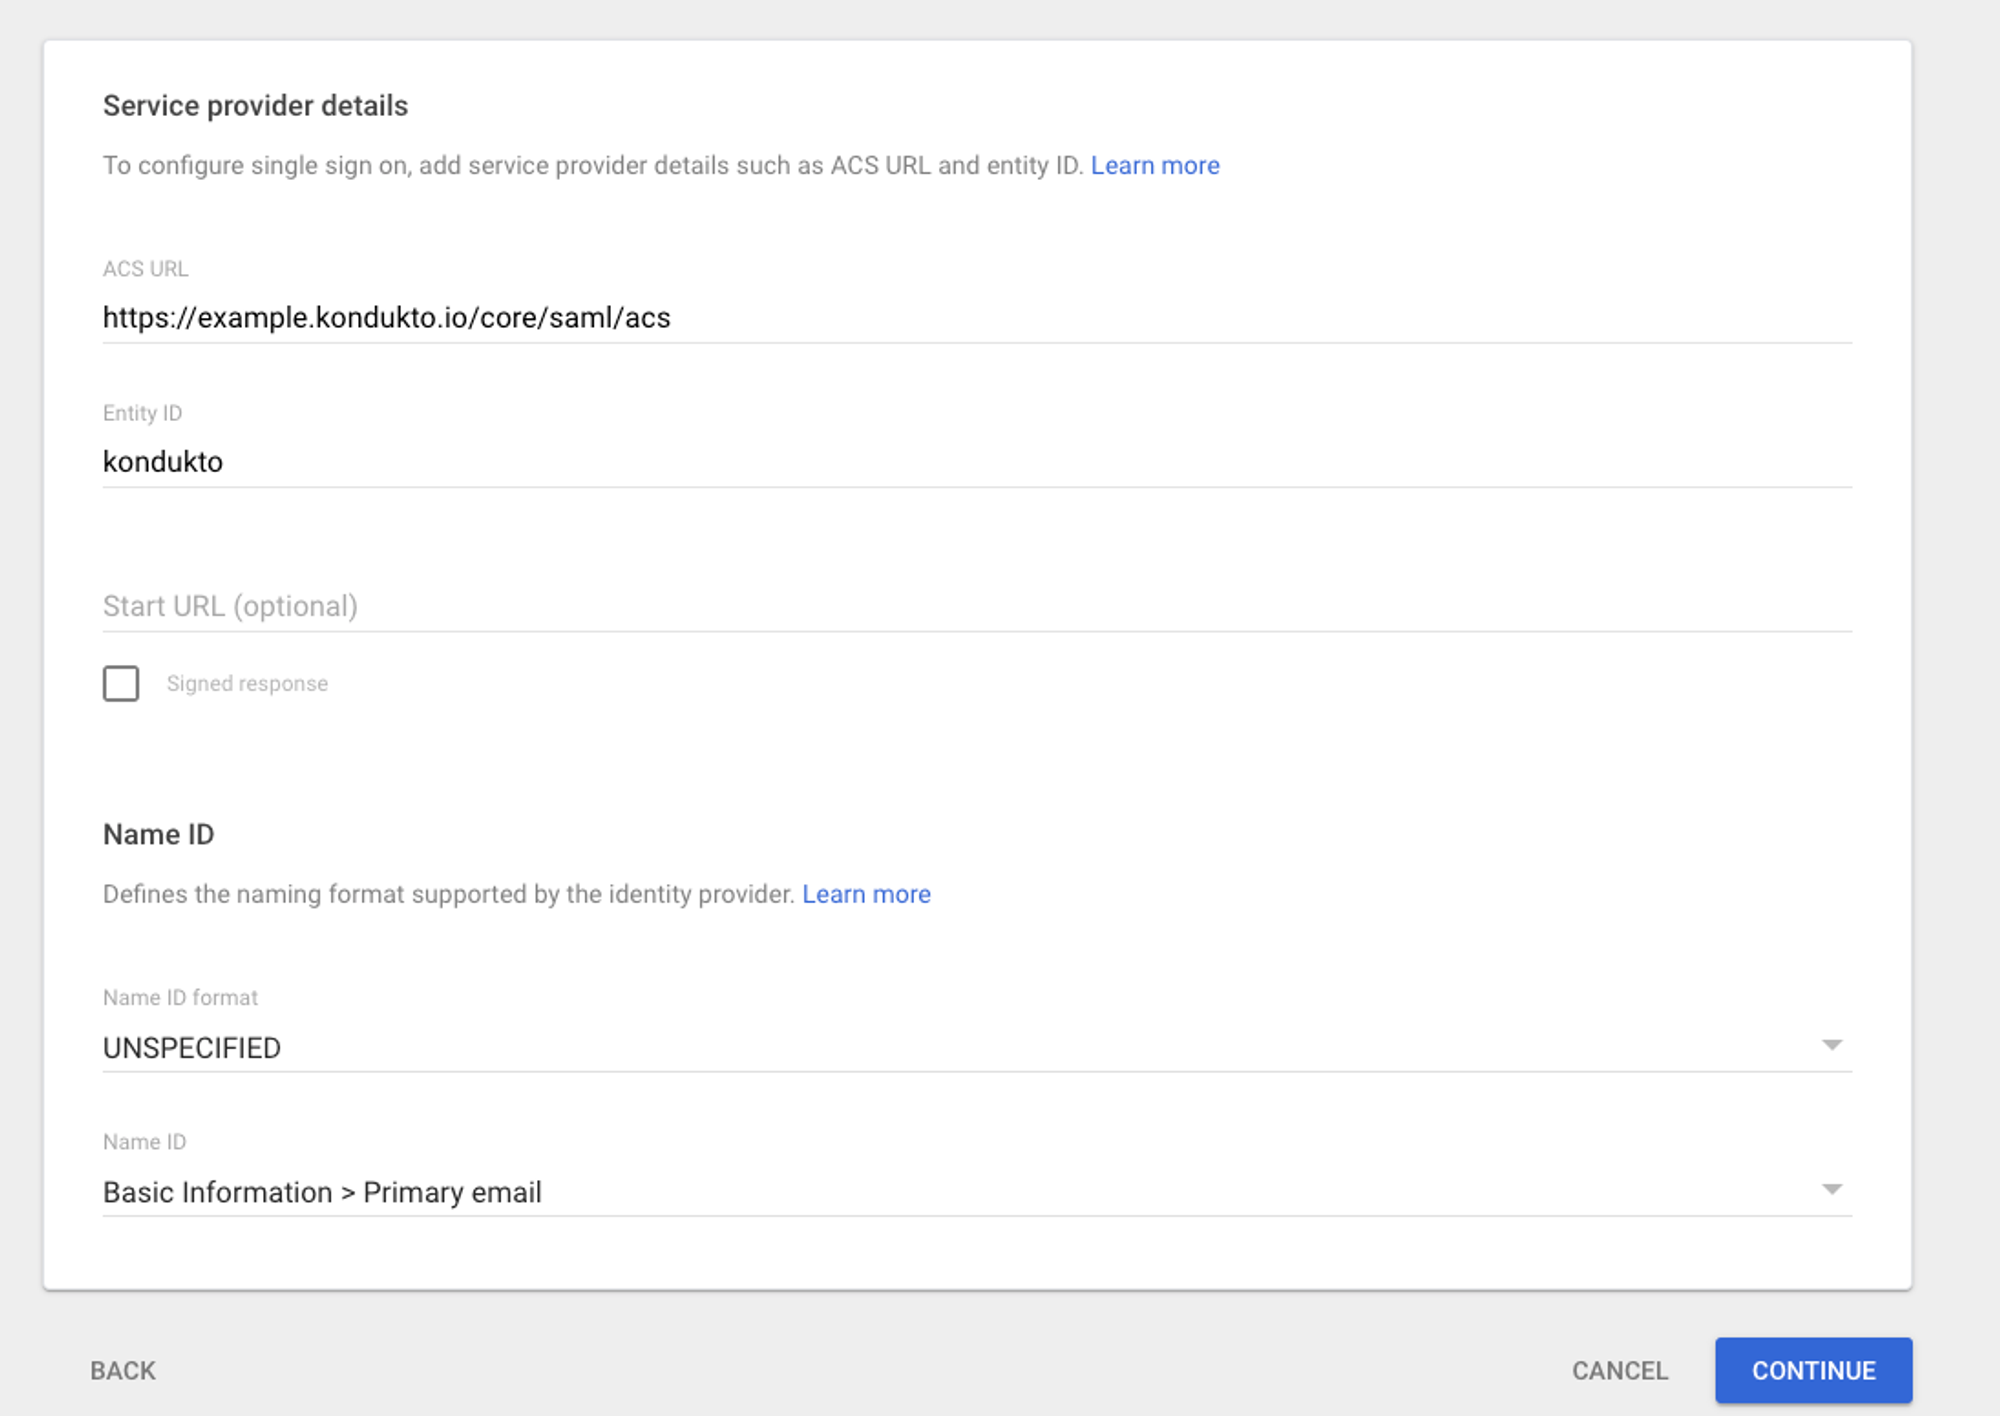
- Fill in the “ACS URL” and “Entity ID” fields and click the “Continue” button.
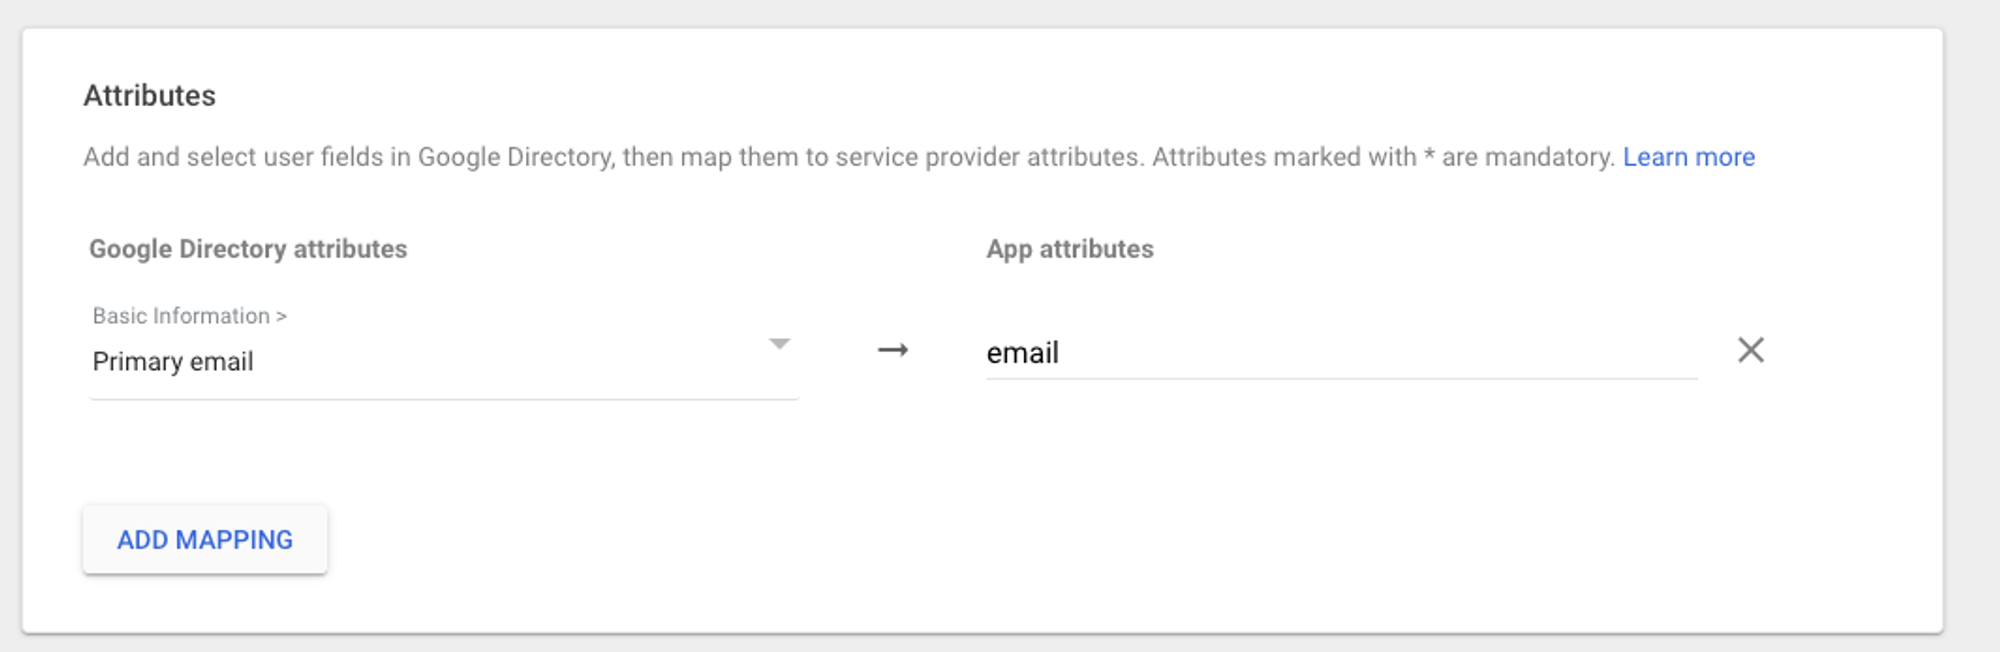
- Add “Primary email” basic information as “email” attribute statement and “groups” group attribute statement.
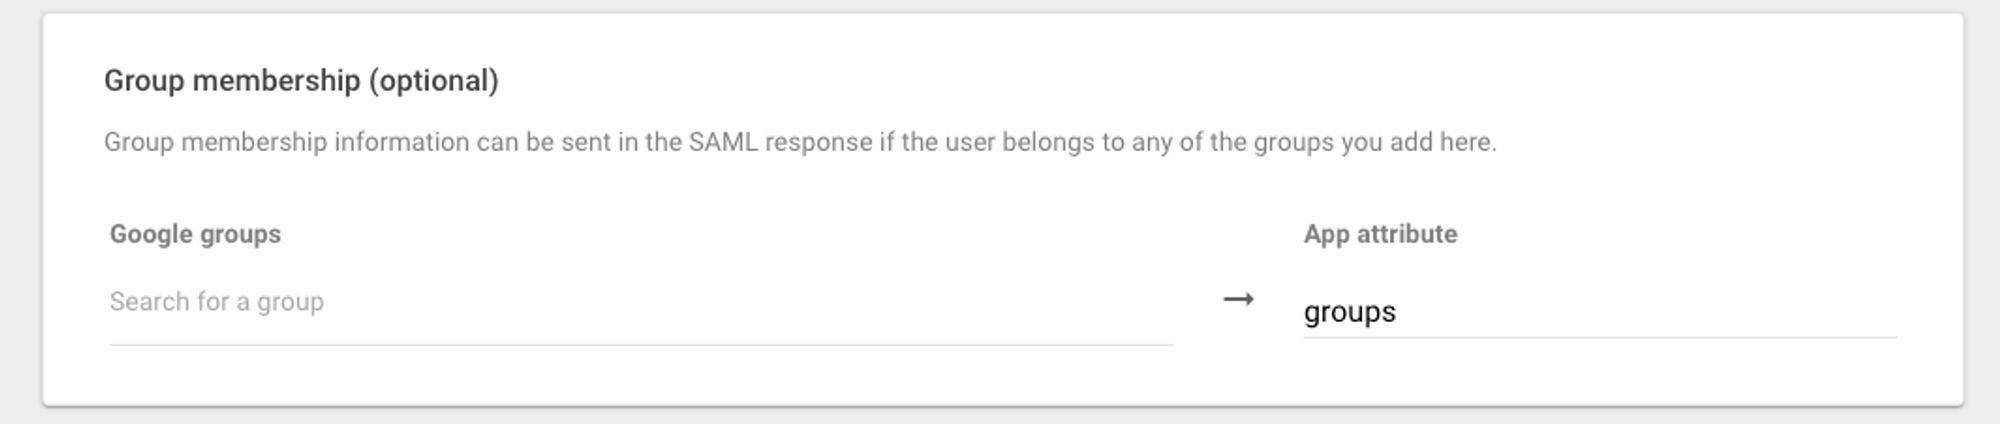
- Select groups and add “groups” group attribute statement. Click the “Finish” button.
- On the “kondukto-saml” application page, click the “User Access” panel.

-
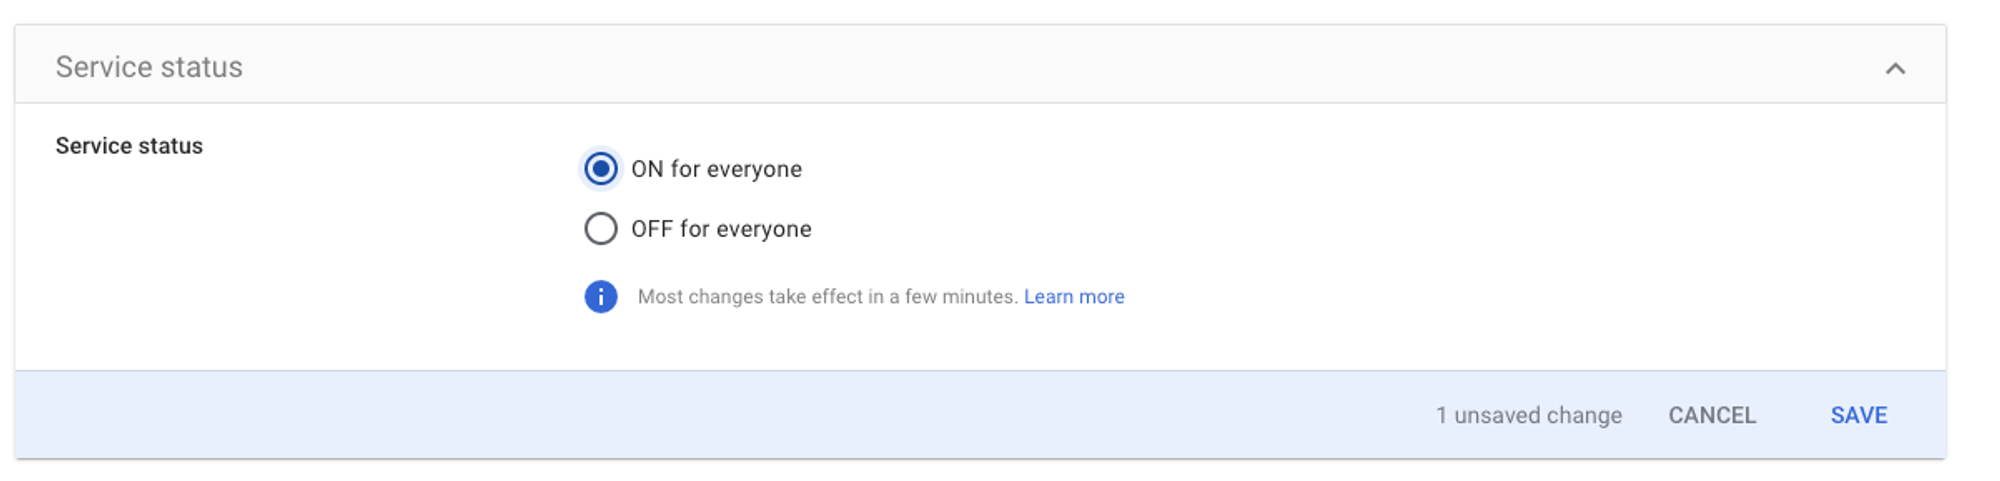
Configure User Access:
-
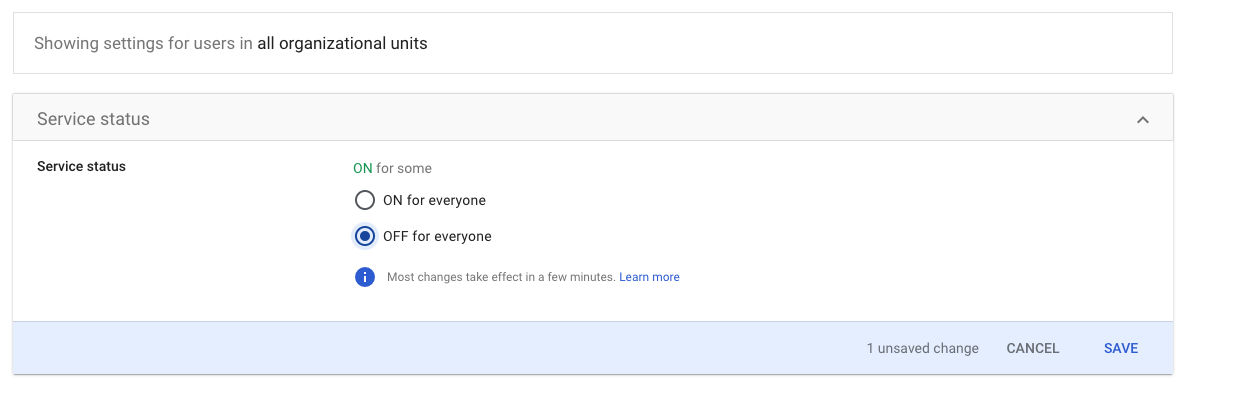
If you want all users in your organization to have access to the application, select “ON for everyone” selection as “Service status” and click the “Save” button.
-
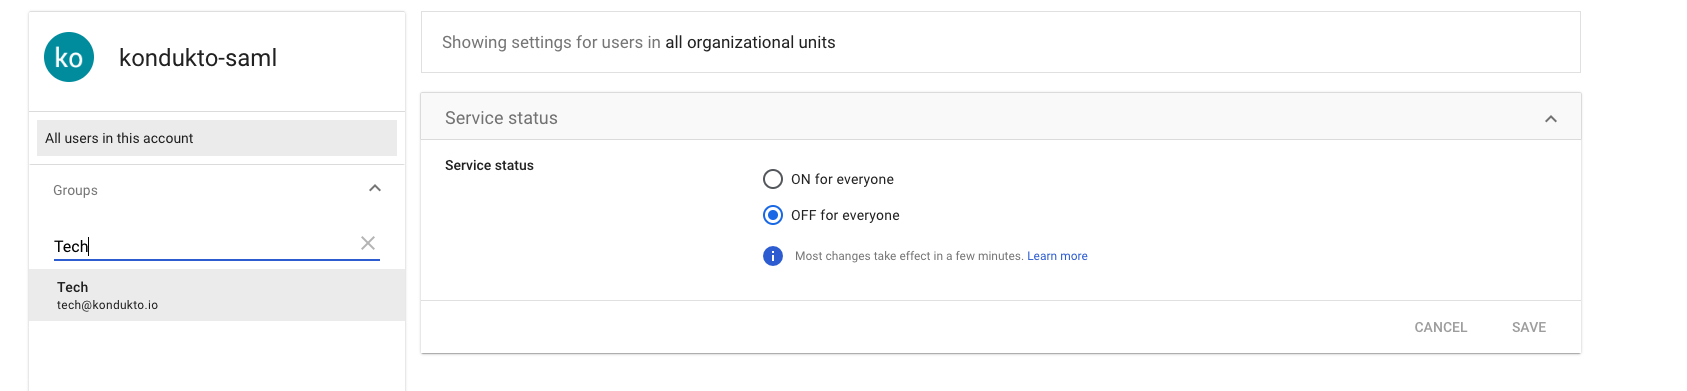
If you want users from specific groups within your organization to access the application, select "OFF for everyone" for all organizational units. And then select allowed groups.


- Login to your Kondukto application with an admin user.
- Select “Integrations” from the left menu.
- Select “Single Sing-On Tools” on the integrations page.
- Activate the “SAML” integration.
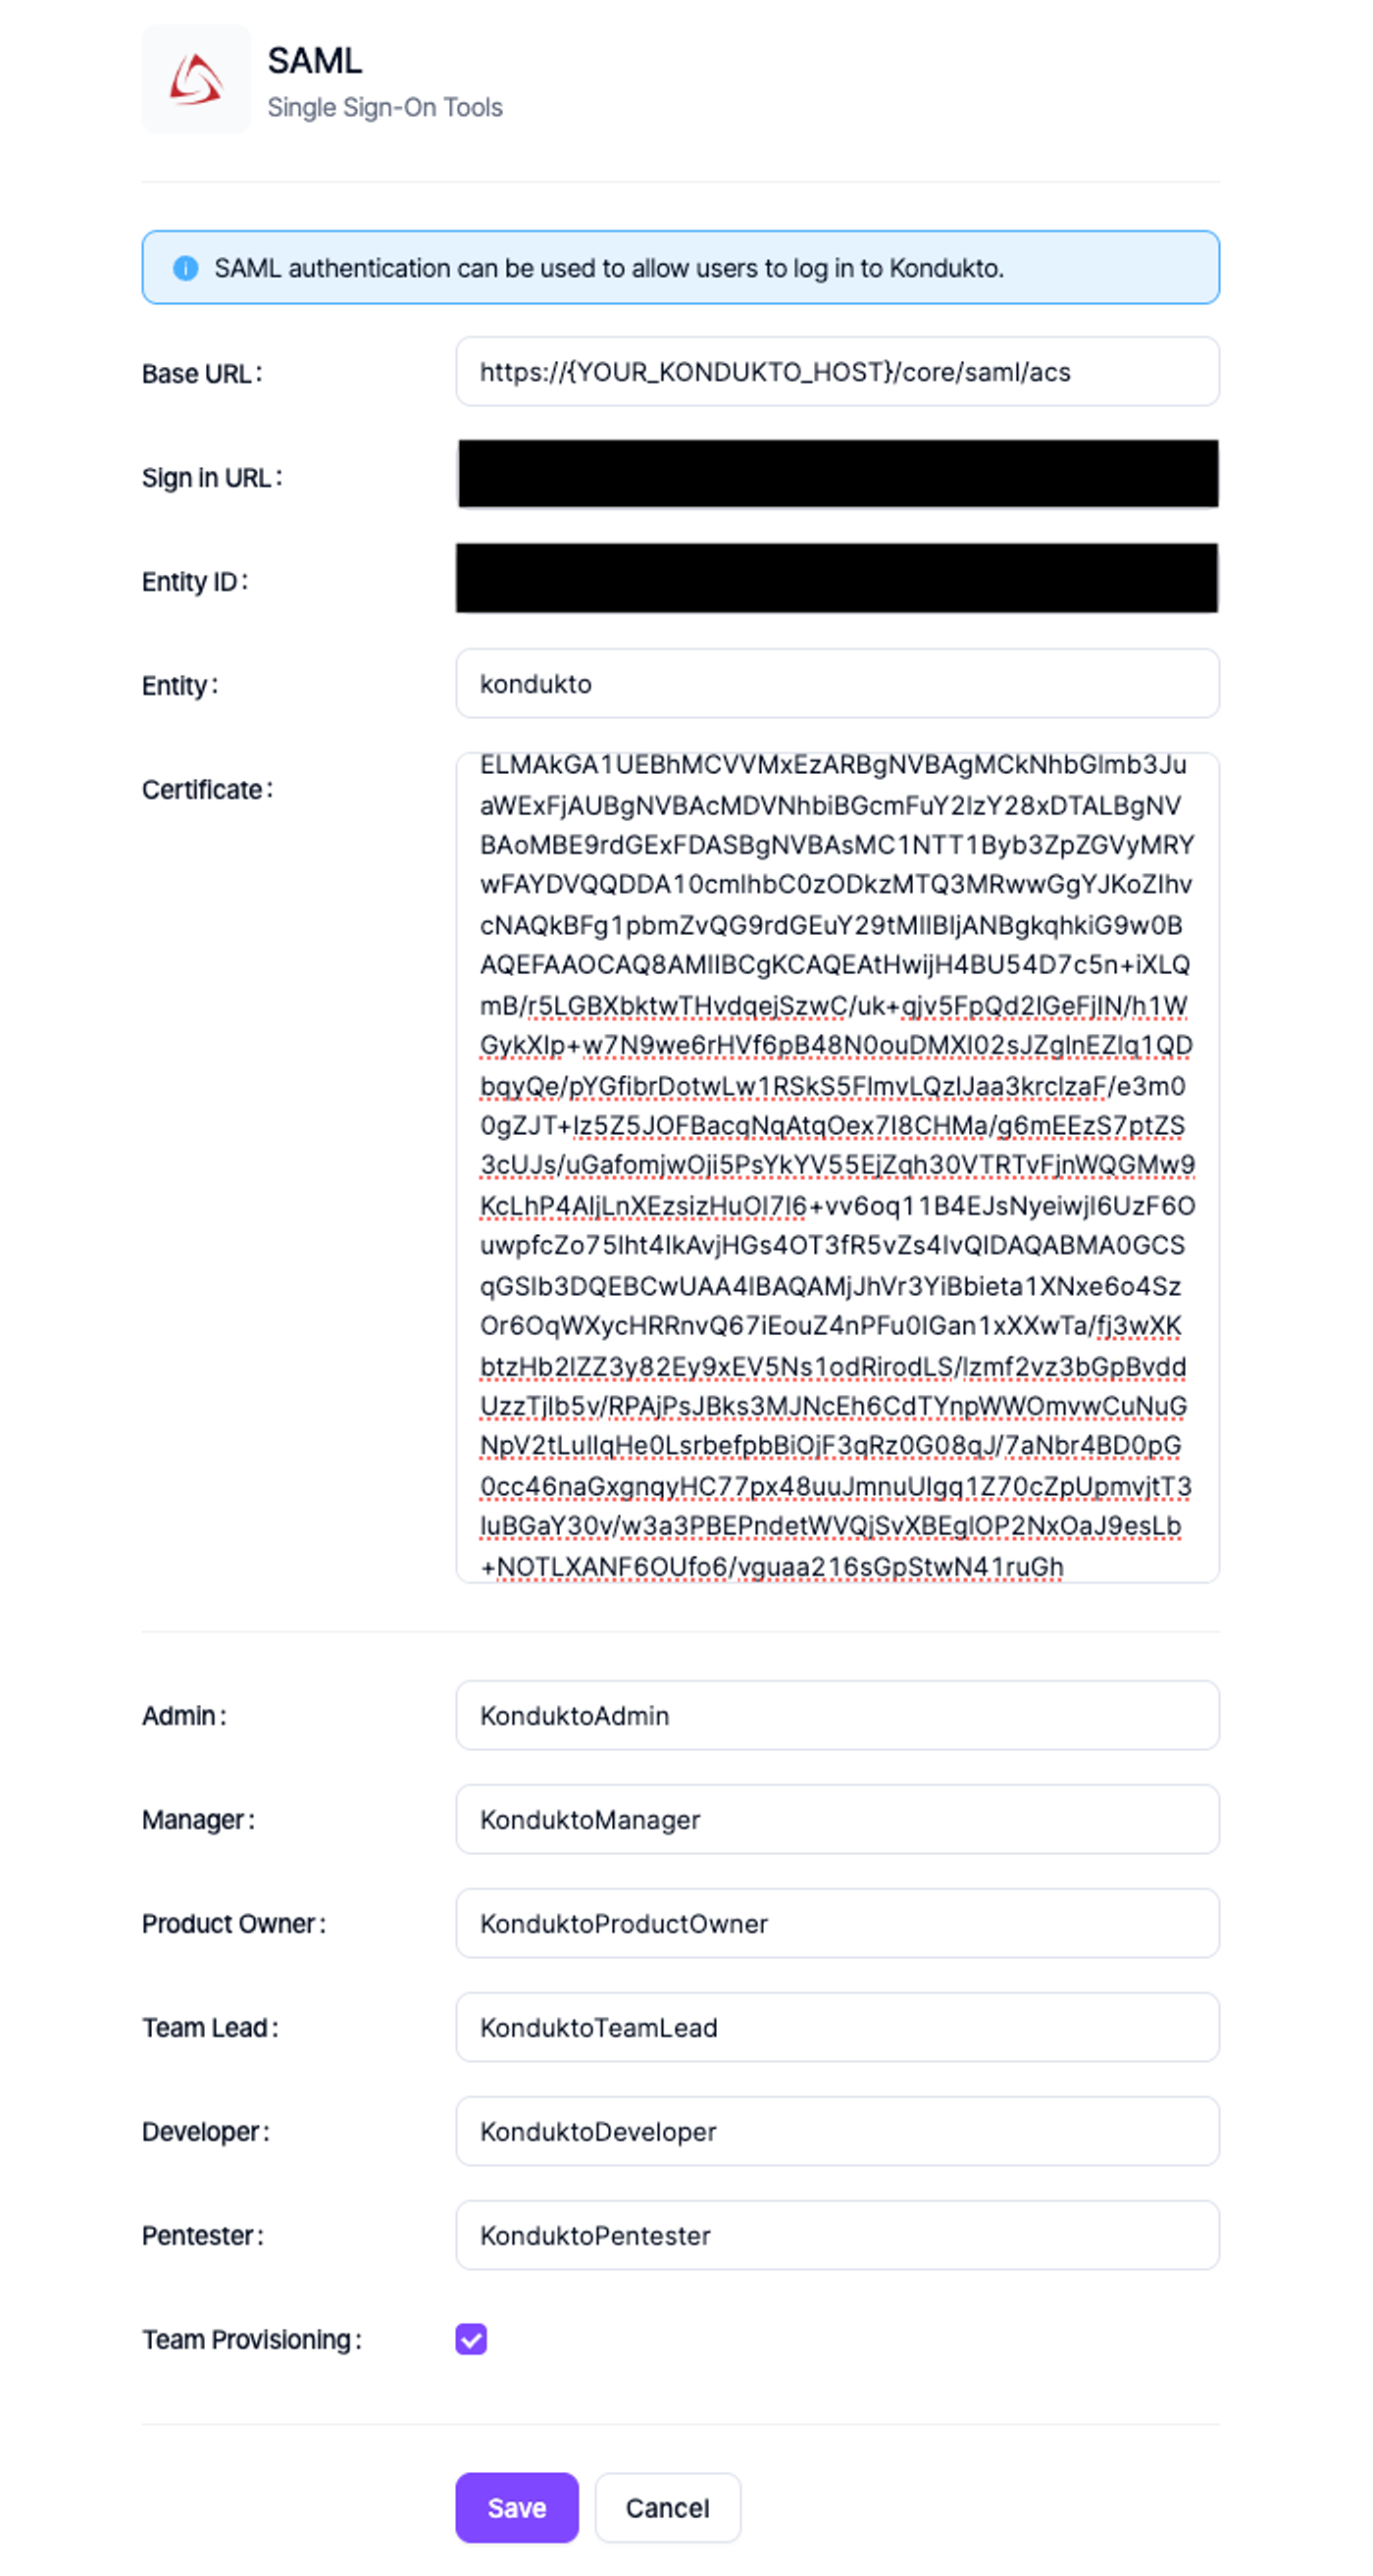
- Fill in the SAML integration fields and click the “Save” button.
- Base URL: https://{YOUR_KONDUKTO_HOST}/core/saml/acs
- Sign In URL: The copied “SSO URL” value in step 5.
- Entity ID: The copied “Entity ID” value in step 5.
- Entity: kondukto
- Certificate: The downloaded “Certificate” value in step 5.
- Admin: The Google group name whose members are going to have an admin role in Kondukto
- Manager: The Google group name whose members are going to have a manager role in Kondukto
- Product Owner: The Google group name whose members are going to have a product owner role in Kondukto
- Team Lead: The Google group name whose members are going to have a team lead role in Kondukto
- Developer: The Google group name whose members are going to have a developer role in Kondukto
- Pentester: The Google group name whose members are going to have a pentester role in Kondukto
- Team Provisioning: If checked, Google groups will be created as a team in Kondukt
- Click the “Login with SAML” button on the Kondukto application login page to log in with a user of the Google “kondukto-saml” app.
- Log in to the Google user credentials to log in to the Kondukto application.
Updated 4 months ago
Did this page help you?