Project Mgmt.
The project management section allows users to take bulk actions on multiple projects.
Changing the number of projects listed on the page from the Per Page selection at the top right corner is possible.
It is also possible to filter the table by project, labels, team, language, product, and business critic in the search section available at the top.
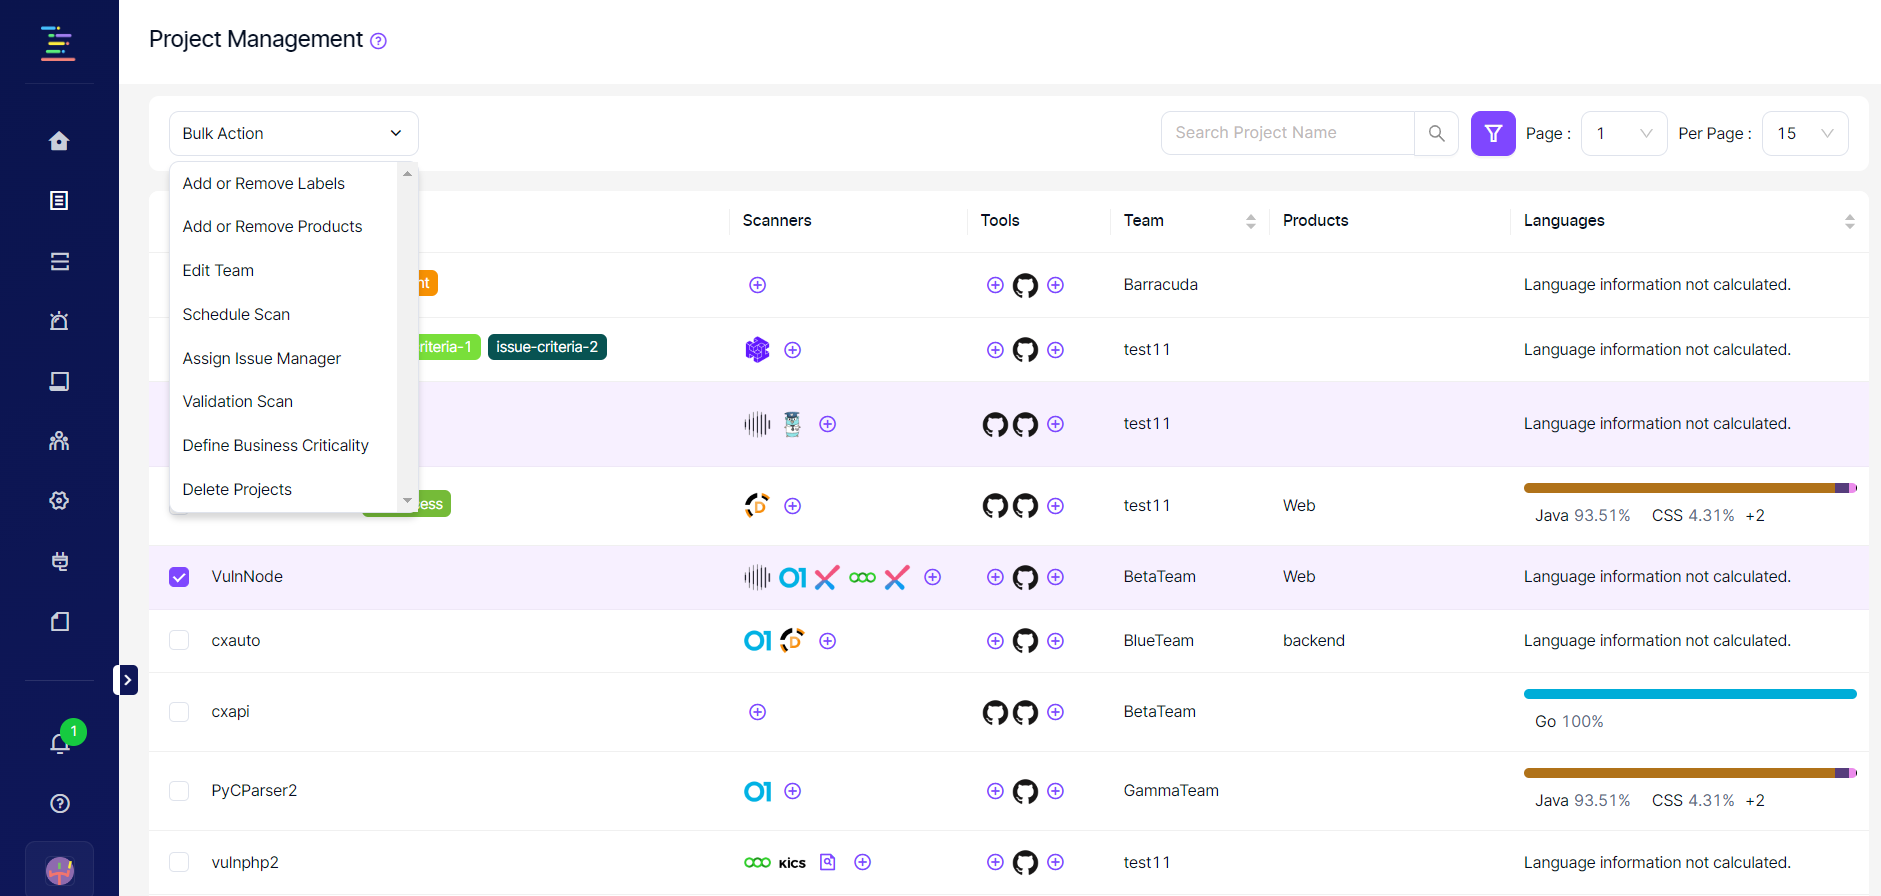
Users can take the following actions on projects;
- Add or Remove Labels: Labels can be added to or removed from the selected projects. When projects are selected and Add or Remove Labels selection is made from the drop-down menu, another menu appears to the right.
In this drop-down menu, all available labels that are listed and labels currently associated with one or more projects are highlighted in light blue and marked with a "-" sign to the left. When these labels are clicked, it will remove the label from the projects that they have associated.
Labels not associated with any projects can be seen from the white background. When they are clicked, they will be added to all projects that are selected.
- Add or Remove Products: Products can be added to or removed from the selected projects. When projects are selected and Add or Remove Products selection is made from the drop-down menu, another menu appears to the right.
In this drop-down menu, all listed products and the products currently associated with one or more projects are highlighted in light blue and marked with a "-" sign to the left. When these products are clicked, it will remove the product from the projects that they have associated.
Products not associated with any projects can be seen on white background. When they are clicked, they will be added to all projects that have been selected.
- Edit Team: Teams can be assigned to or removed from the selected projects. When projects are selected, and Edit Team selection is made from the drop-down menu, another menu appears to the right.
In this drop-down menu, all available teams are listed along with the number of selected projects they have been assigned to (shown in parenthesis). When a team is clicked, that team will be assigned to all selected projects.
- Schedule Scan: Scanners on which Kondukto can trigger scans without binding projects (mostly open-source security testing tools) can be assigned to the selected projects.
The user must ensure that the selected scanner can scan the programming language used in the projects. For this purpose, filtering the projects by language is possible before choosing a scanner.
When projects are selected, and the Schedule Scan selection is made from the drop-down menu, another menu appears to the right.
This drop-down menu lists all available scanners (ones that have been activated under Integrations and do not require binding projects between the scanner and Kondukto). When a scanner is clicked, a slide-out panel appears to the right where the user needs to make further selections, such as the branch to be scanned in the selected projects, the timing of the scan, etc.
The projects already containing repo URL information are listed in the slide-out panel as available projects.
- Assign Issue Manager: If tickets will be created on the same project in the issue manager, this option allows to map of multiple projects onto the same project in the issue manager.
- Validation Scan: This option is available only if an issue manager is activated in the project. Using this capability, It is possible to enable or disable validation scans in multiple projects. The triggering event for the validation scan can also be configured in the settings under the modal.
- Define Business Criticality: This option can define business criticality in multiple projects. When Calculate Automatically option is selected in the drop-down menu, Kondukto checks for the risk values of the labels on the project and determines the total risk value to decide on the business criticality. It is also possible to make a manual selection for the business criticality.
- Delete Projects: Selected projects can be deleted by clicking the Delete Projects button in the drop-down menu.
Updated about 1 year ago