Microsoft Defender for Cloud Integration
Prerequisites
Before starting the integration, ensure the following permissions are in place:
- An App Registration exists in Microsoft Entra ID.
- The App Registration is assigned to the relevant subscription with one of the following roles:
- Security Reader (minimum required)
- Reader (subscription level)
- Role assignment can be done via: Azure Portal → Subscriptions → Access control (IAM) → Add role assignment
Integration Steps
Collect and note the following four values from Azure. Once all four are available, the integration can be completed through Invicti ASPM.
Tenant ID
- Sign in to the Azure Portal.
- Navigate to Microsoft Entra ID → Overview.
- Copy the Tenant ID.
Client ID (Application ID)
- Go to Microsoft Entra ID → App registrations.
- Create a New registration.
- Open the application Overview.
- Copy the Application (Client) ID.
Client Secret
- Open the App Registration.
- Navigate to Certificates & secrets.
- Create a New client secret.
- Copy the secret value immediately (it cannot be retrieved later).
Subscription ID
- In the Azure Portal, go to Subscriptions.
- Select the relevant subscription.
- Copy the Subscription ID.
The integration can be completed through Invicti ASPM UI. Please navigate to the Integrations → Scanners → CSPM and click to activate button under the Microsoft Defender for Cloud.
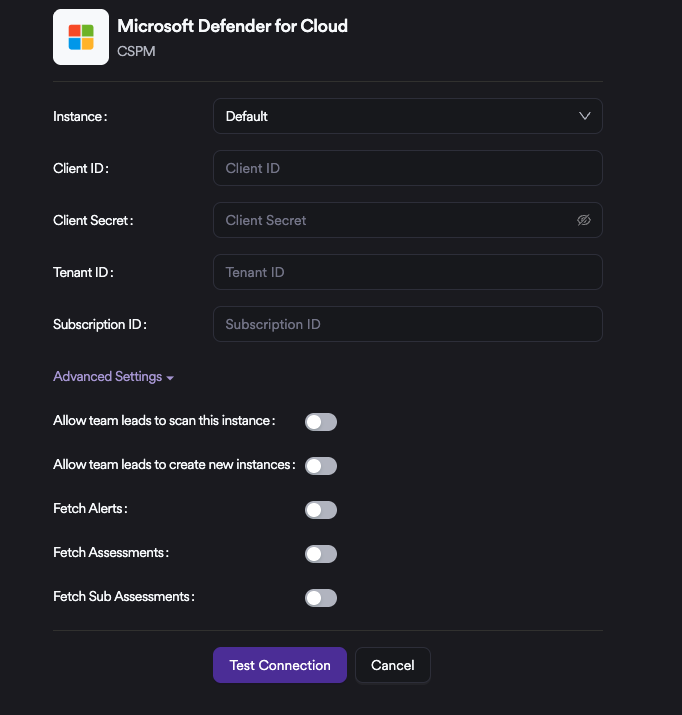
Under Advanced Settings, the Team Lead Integrations section is available. These settings define instance creation and management permissions for Team Lead–level users, in addition to Admin-level users.
From the same section, it is also possible to control whether Alerts, Assessments, and Sub-Assessments data are synchronized with Invicti ASPM.
Updated 3 months ago